CentOs 6.0にOracle Database Express Edition 11g R2(Oracle 11g XE)をインストールします。
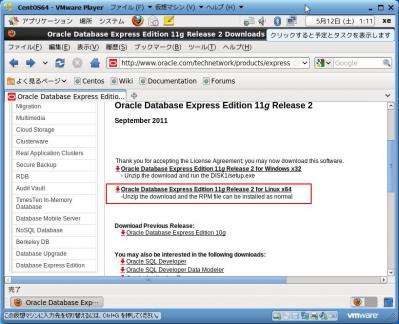
公式サイトよりOracle Database Express Edition 11g R2をダウンロードして下さい。
※ダウンロードにはユーザ登録が必要です。
ダウンロードが完了しました。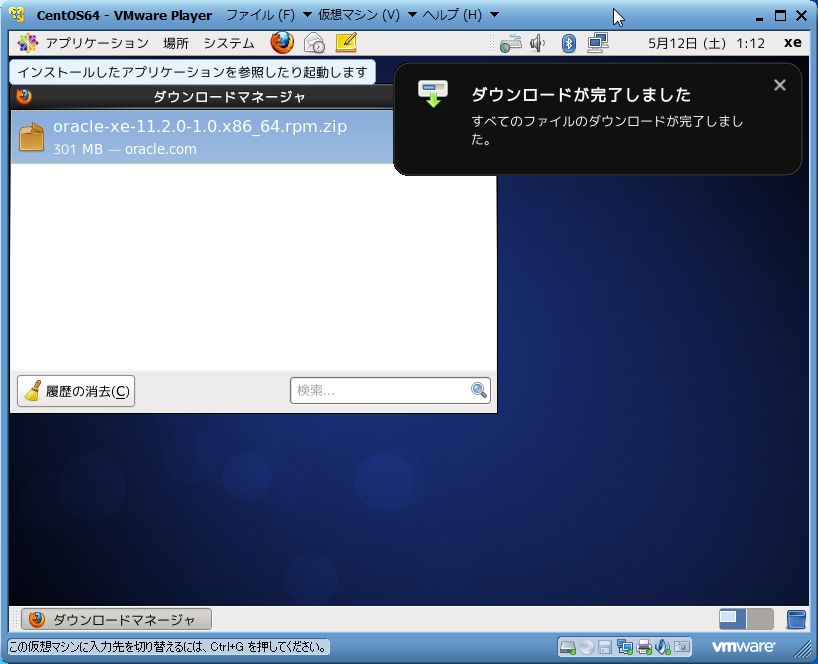
左上メニューから「アプリケーション」→「システムツール」→「端末」を選択します。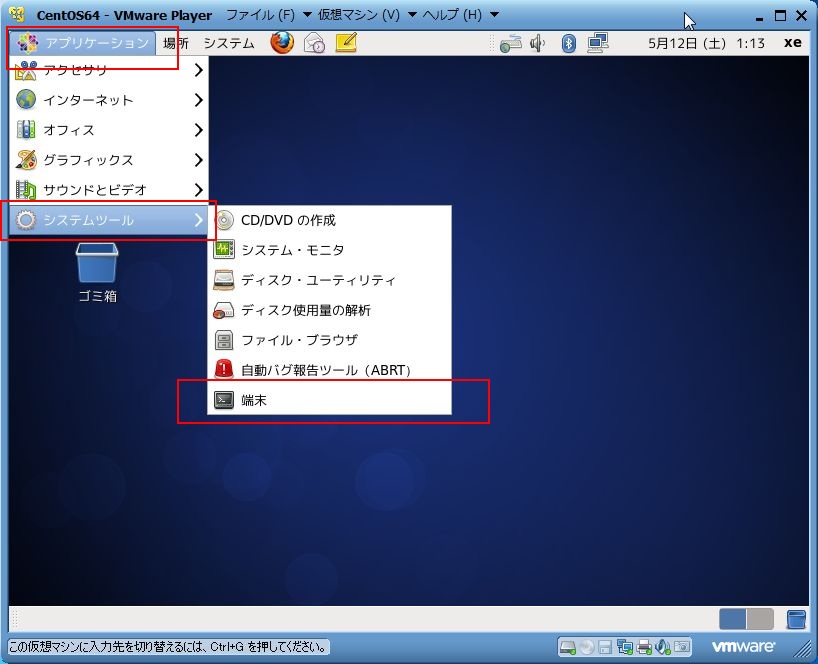
sudoがインストールされているか確認します。
$ rpm – qa l grep sudo
インストールされていなければ、yum install sudoでインストールしてください。
※Desktopインストールしてる時点でインストールされていないことはないと思います。
rootユーザに変更します。
$ su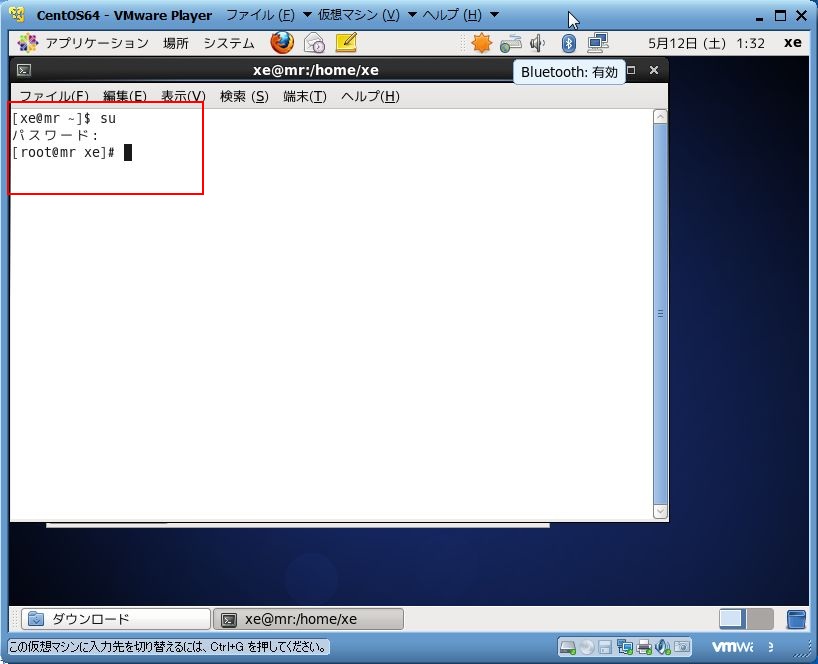
sudoによる管理者権限が作成した
ユーザxeにはまだ付与されていませんので、付与します。
sudo設定ファイルを開きます。
$ visudo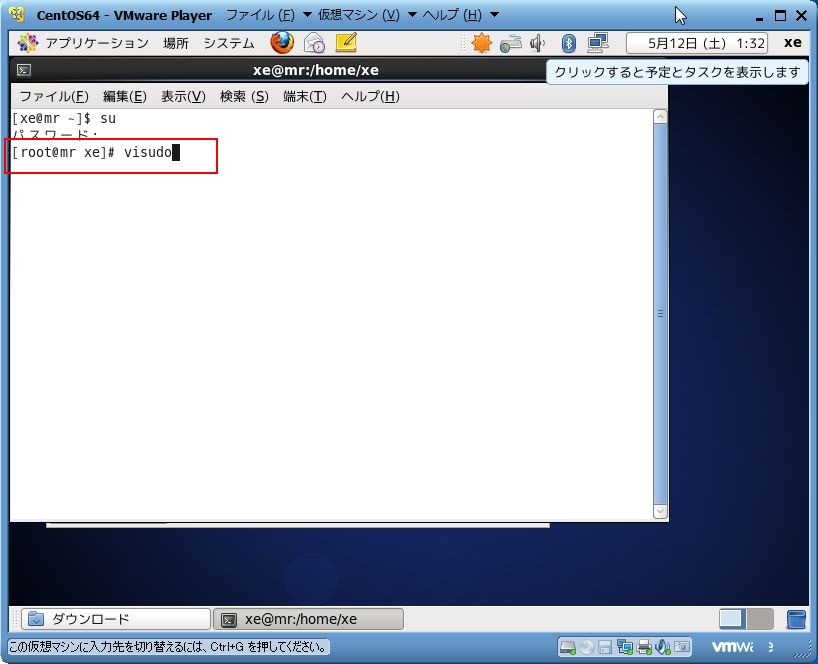
開いた設定ファイルを確認します。
root ALL(ALL) ALLの直下に追記を行います。
xe ALL(ALL) ALLと追記後、保存して終了して下さい。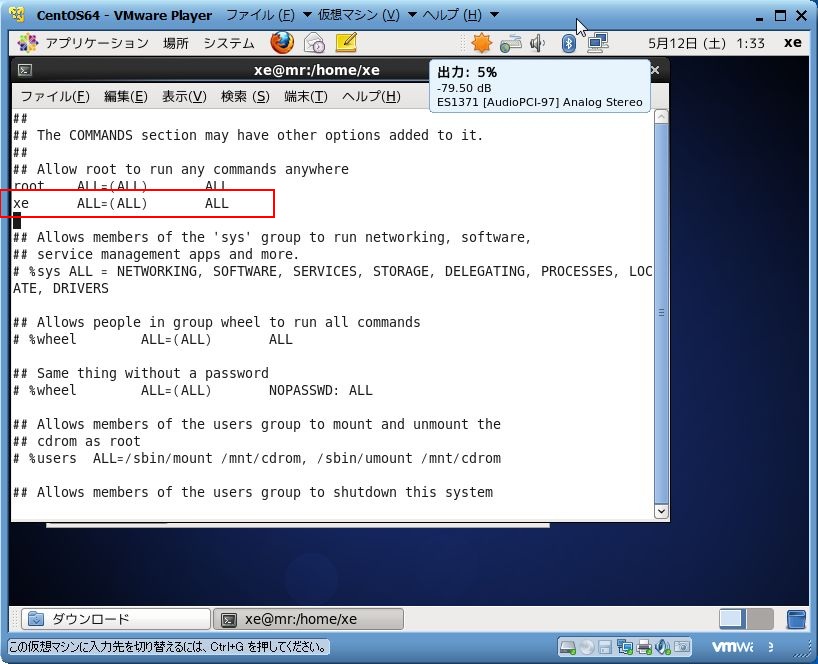
sudoコマンドの有効を可否を確認します。
エラーが出ないことを確認して下さい。
$ sudo ls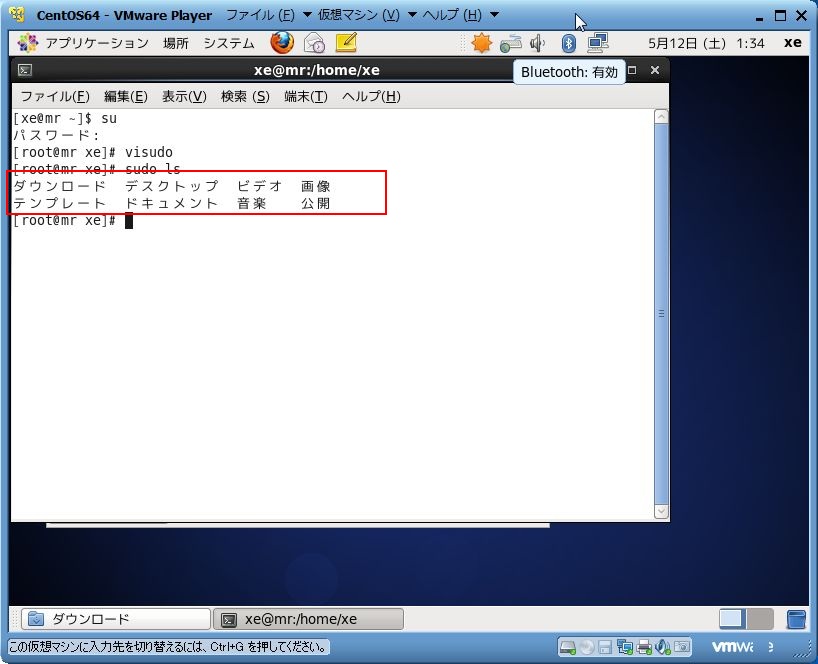
Oracle Database Express Edition 11g Release 2のインストールに必要な
パッケージをインストールします。
$ sudo yum install -y bc unzip libaio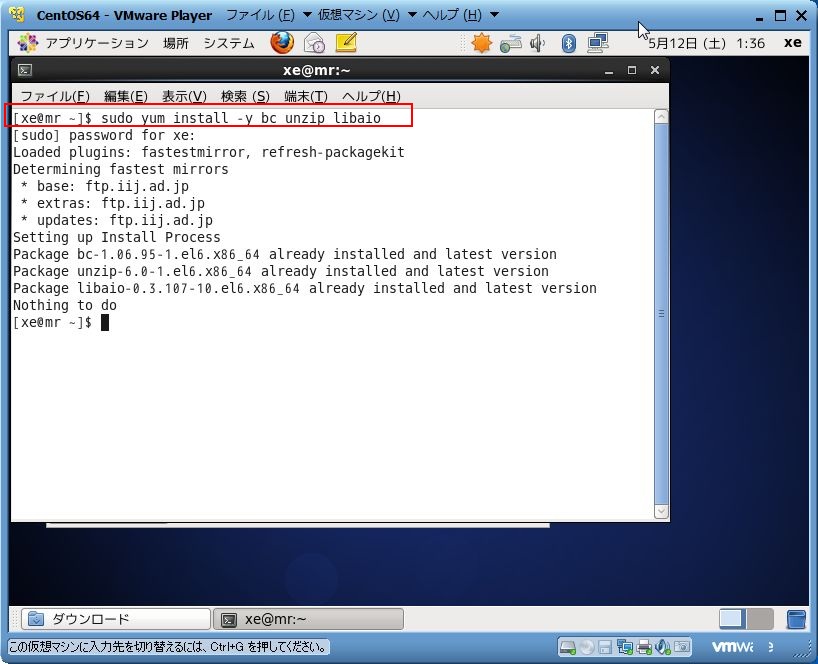
$ rpm -qa libaio bc unzip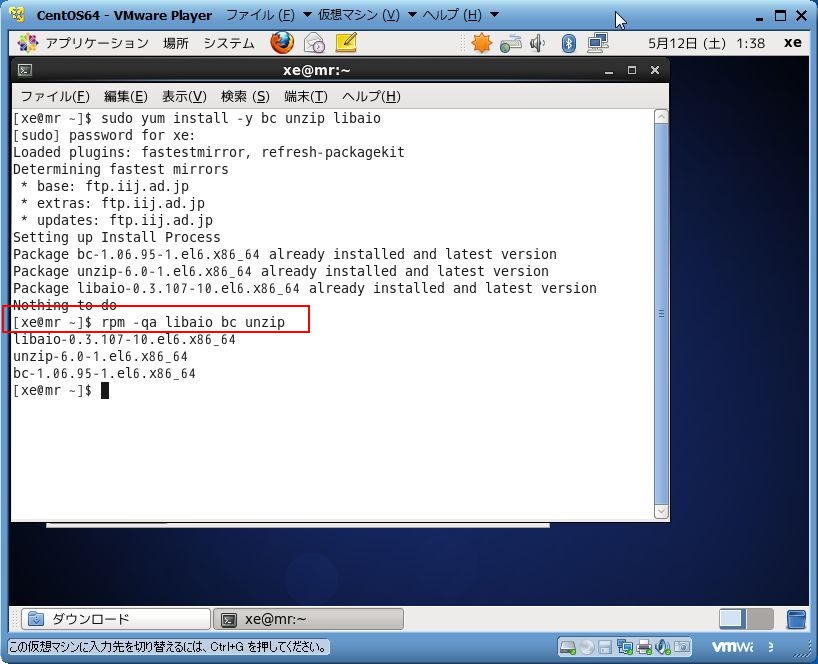
Oracle Database Express Edition 11g Release 2を
ダウンロードしたフォルダに移動後、ファイルを解凍します。
$ cd /home/xe/ダウンロード
$ unzip oracle-xe-11.2.0-1.0.x86_64.rpm.zip
解凍したフォルダDisk1に移動します。
$ cd Disk1/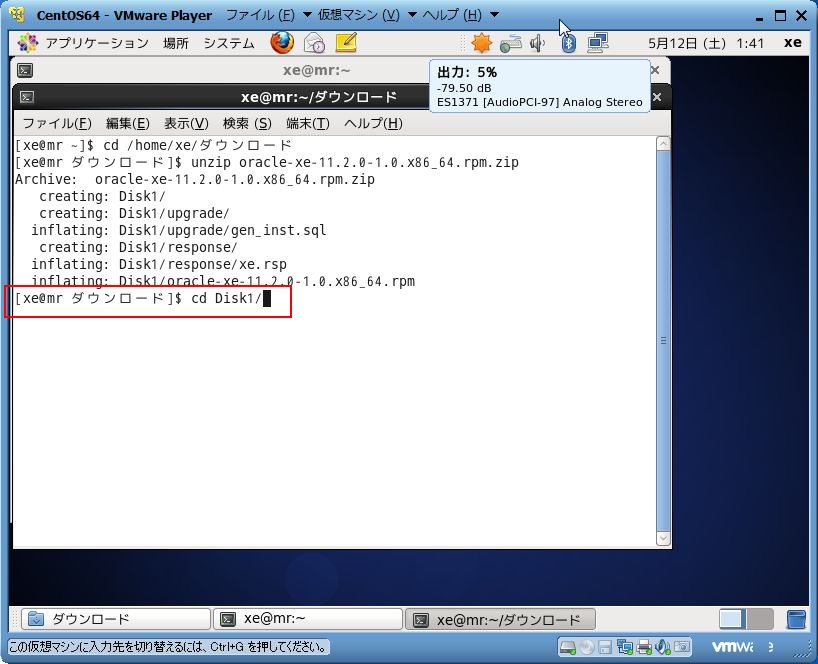
$ ll
コマンドでフォルダ内のファイルを確認します。
sudo rpm -ihv oracle-xe-11.2.0-1.0.x86_64.rpm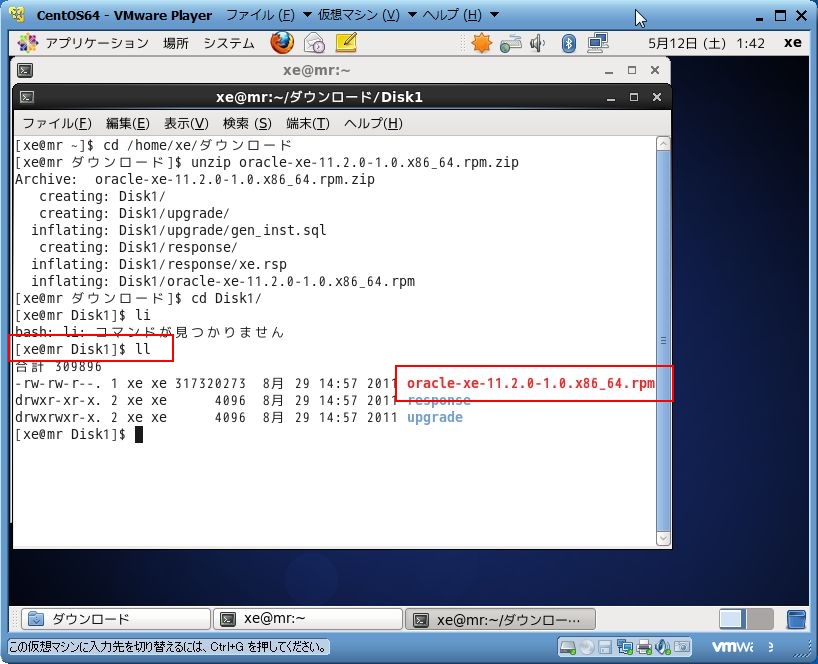
rpmを展開し、Oracle Database Express Edition 11g Release2を
インストールします。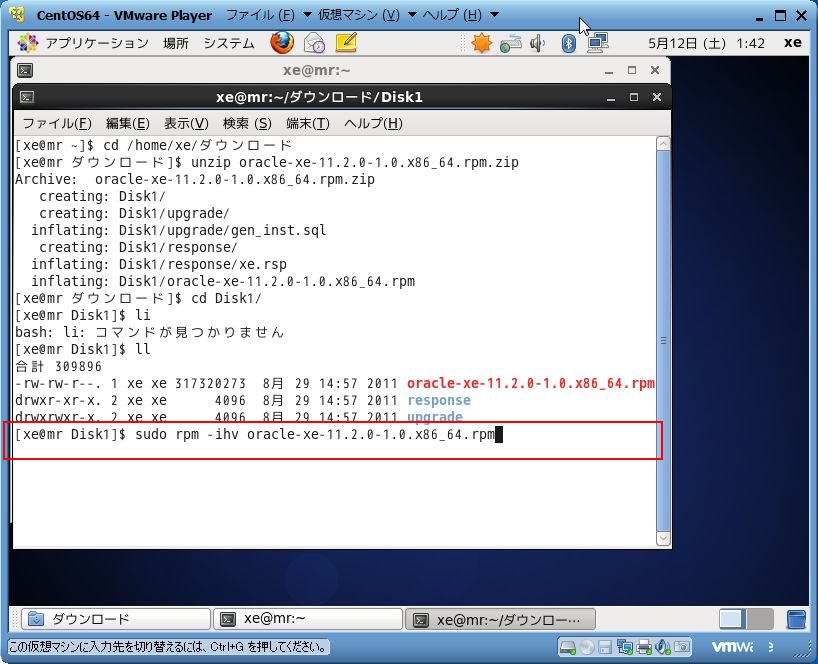
インストールが完了します。
$ sudo /etc/init.d/oracle-xe configure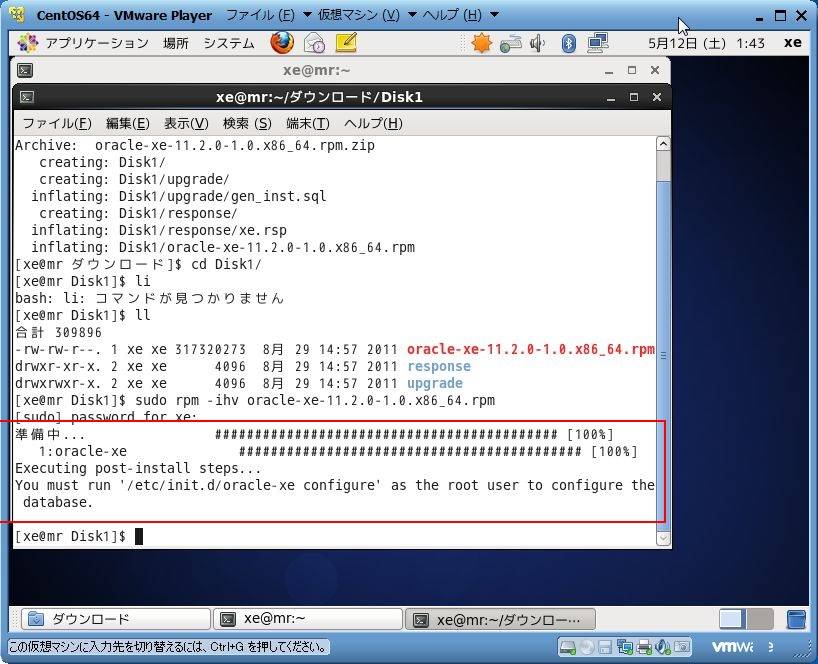
対話形式でオラクルの設定を入力します。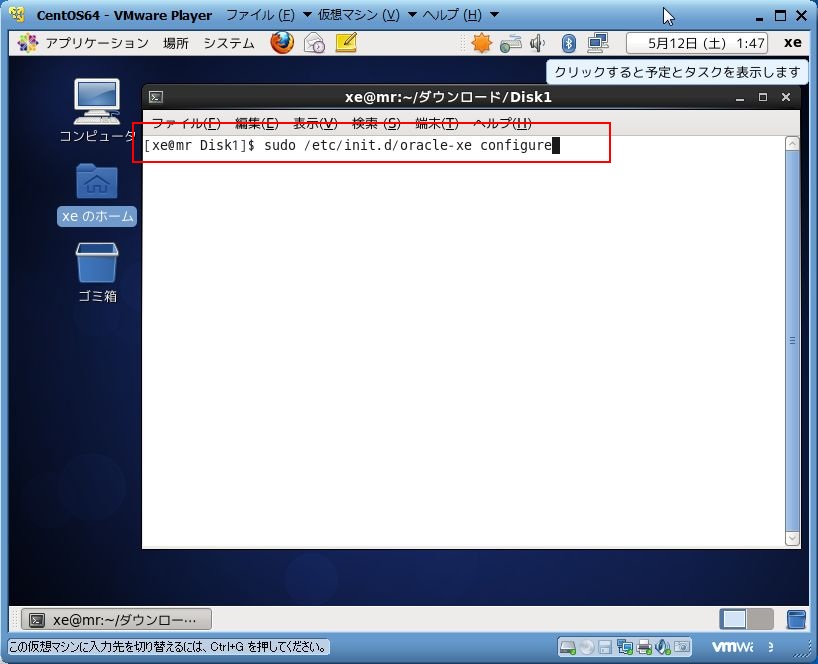
-実行結果———————————————
[xe@mr Disk1]$ sudo /etc/init.d/oracle-xe configure
[sudo] password for xe:
Oracle Database 11g Express Edition Configuration
————————————————-
This will configure on-boot properties of Oracle Database 11g Express
Edition. The following questions will determine whether the database should
be starting upon system boot, the ports it will use, and the passwords that
will be used for database accounts. Press to accept the defaults.
Ctrl-C will abort.
Specify the HTTP port that will be used for Oracle Application Express [8080]:
※デフォルトポートから変更したい場合は任意の数値を入力してください。
Specify a port that will be used for the database listener [1521]:
※デフォルトポートから変更したい場合は任意の数値を入力してください。
Specify a password to be used for database accounts. Note that the same
password will be used for SYS and SYSTEM. Oracle recommends the use of
different passwords for each database account. This can be done after
initial configuration:
Confirm the password:
※SYS、SYSTEMユーザのパスワード
Do you want Oracle Database 11g Express Edition to be started on boot (y/n) [y]:y
※自動起動設定
Starting Oracle Net Listener…Done
Configuring database…Done
Starting Oracle Database 11g Express Edition instance…Done
Installation completed successfully.
——————————————————
Oracle Database Express Edition 11g Release2の
インストールが完了しました。
$ source /u01/app/oracle/product/11.2.0/xe/bin/oracle_env.sh
Sqlplusを用いてDBへの接続確認を行うため、
Sqlplusを実行できるようにします。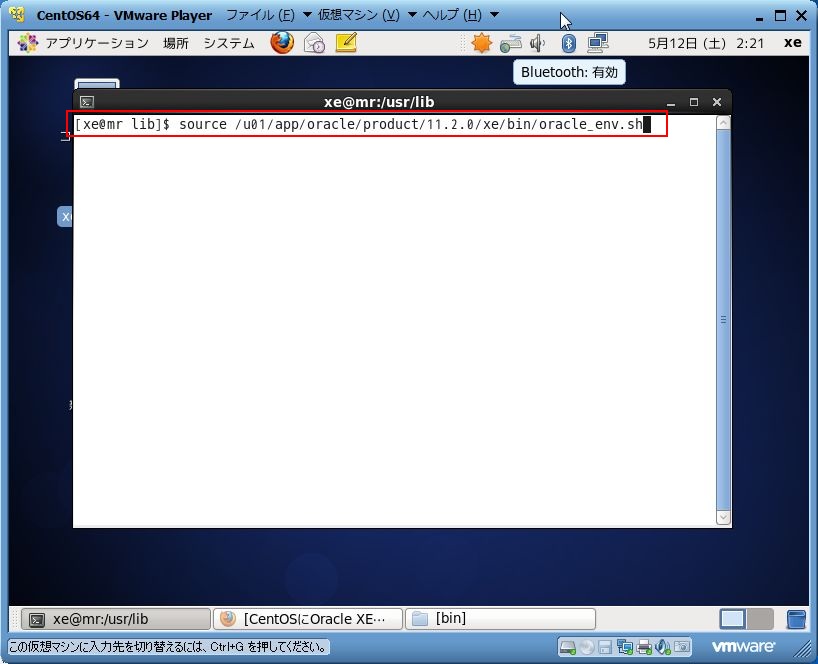
Sqlplusを使用してDBへの接続確認を行います。
$ sqlplus sys/設定したパスワード as sysdba
接続されました。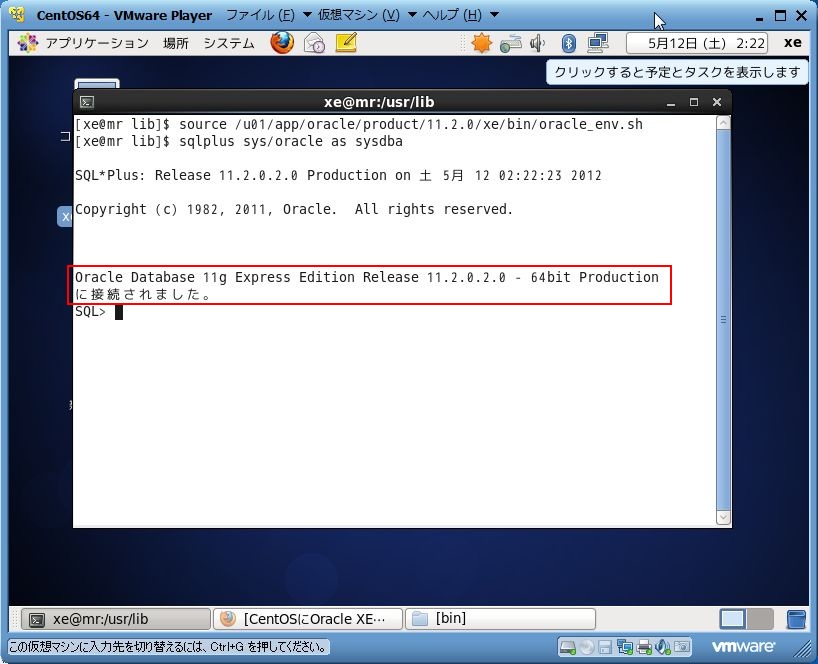
基本的には、ubuntuと一緒だったので楽でしたね。
[追記]
※ホストOSからゲストOSへの接続ではまりました。
pingが通るのに、oSqleditで接続すると
ORA-12170: TNS:Connect timeout occurred
意味がわからない…。
エラーが出る理由を探してたらファイアウォールが怪しいような記述が。
そしたらcentOSは設定を変更しない限りデフォルトでファイアウォールが
有効になっているようでした。
コマンドで変更してみるも、効かない!
そんな訳で、折角DesktopインストールしているのでGUIで変更することにしました。
「システム」→「管理」→「ファイアウォール」を選択して下さい。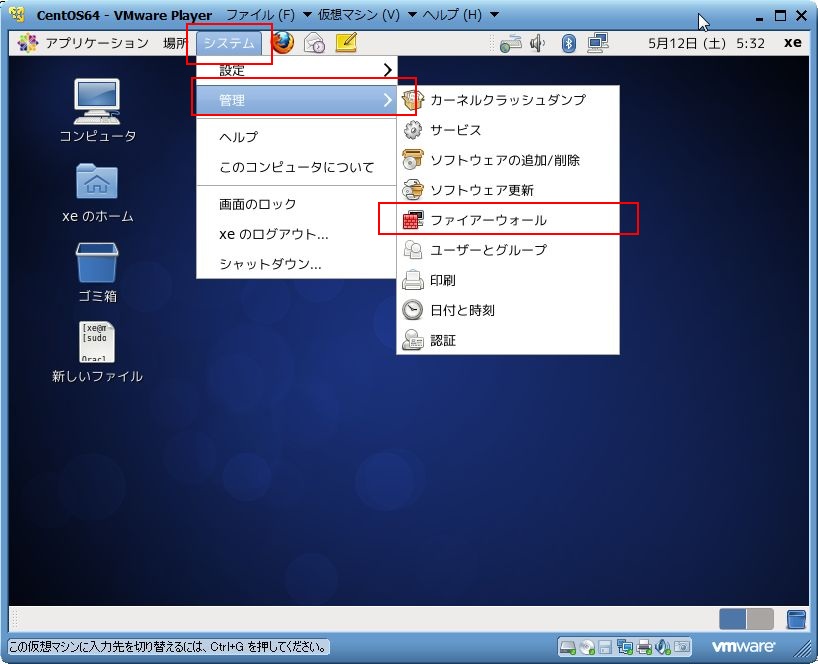
「無効」を選択して下さい。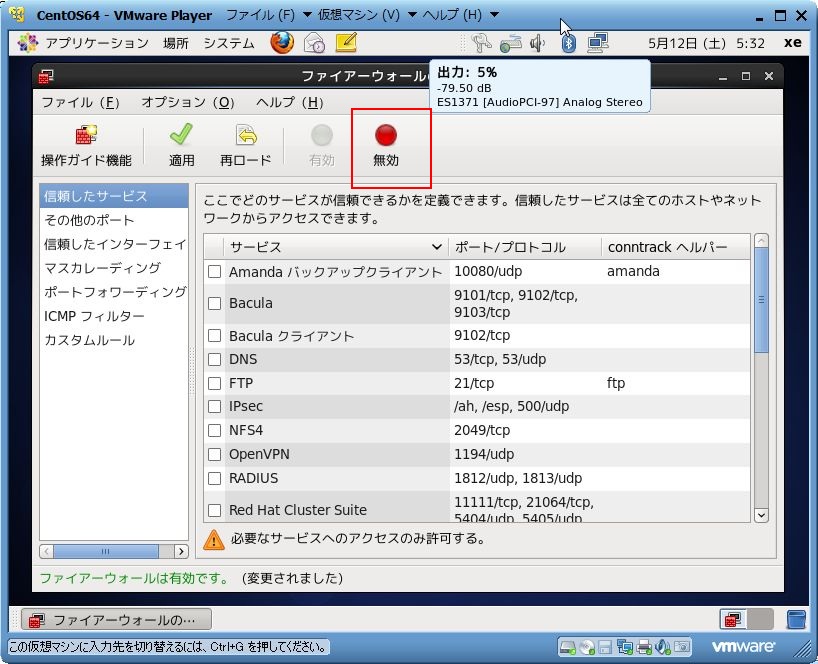
「無効」になったことを確認後、システムをシャットダウンして再起動してください。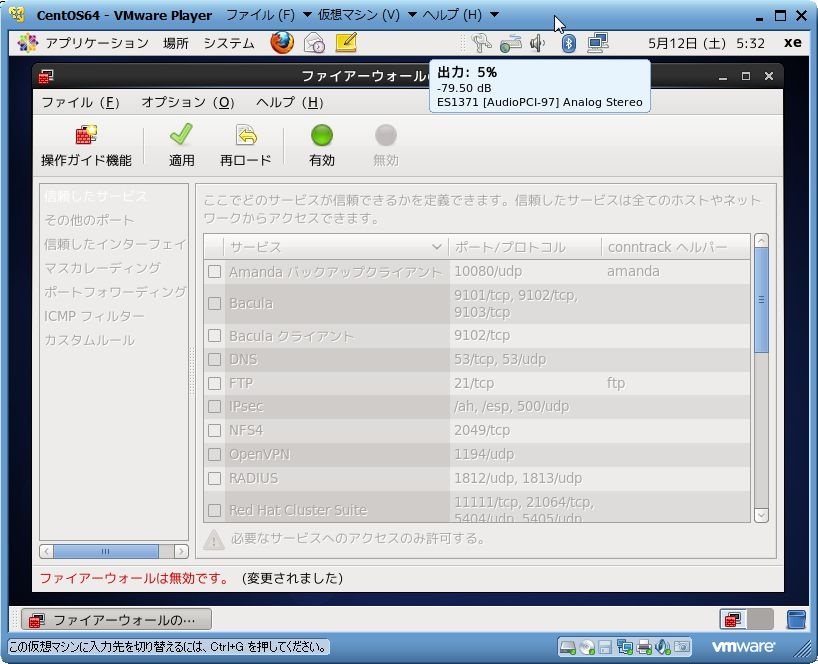
これでoSqleditをホストOSから接続できます。